
Yep, there's no doubt about it. I am making homemade Greek yogurt from here on out. The process was so intimidating to me for some reason and I delayed it for weeks, but after I completed my first batch, I was shocked at how easy it was and how much I loved the final product. I promise you, it may sound overwhelming to begin (especially if you're afraid of using your Instant Pot like I was when I first got it)... but trust me on this one... you've just gotta go for it! Not only does it taste divine, but it's healthier and more cost effective than what you're currently buying off the shelves of the store. Sold?
Okay, let's get down to business. There are a ton of yogurt recipes out there, and I kind of combined some/adjusted others to how I liked it. But here's what you'll need for my recipe: the yummiest yogurt ever. If you plan on making this soon, order the nut milk bags and extra sealing ring today (or anything else you need) from the ingredients list below, and once those arrive, you'll be ready to start!

Ingredients:
1. One gallon organic whole milk. *We used whole milk just because I'm still giving my little Ellie whole milk + we wanted it to be creamy, but 2% should work just great!
2. Yogurt starter: there are many different options for this, but I grabbed some organic plain Siggi's yogurt to use as my starter. I used one cup. I know some people who use up to 2 cups, and some people who use 2 Tbsp. It's up to you, but the one cup worked great! The yogurt that you choose for your “starter,” needs to contain live cultures and milk... nothing more. I love Siggi's because the ingredients are Pasteurized Skim Milk, and Live Active Cultures (S. thermophilus, L. delbrueckii subsp. bulgaricus, B. lactis, L. acidophilus, L. delbrueckii subsp. lactis). The cool thing is that once you make your first batch, you can save a little bit of yogurt to use as your next "starter" for your second batch. So it's just a one-time buy for the yogurt!
3. 1 Tbsp. vanilla extract
5. Nut milk bags. I got these ones from Amazon. I love that they come in a 2-pack and they are reusable! I'd recommend getting them.
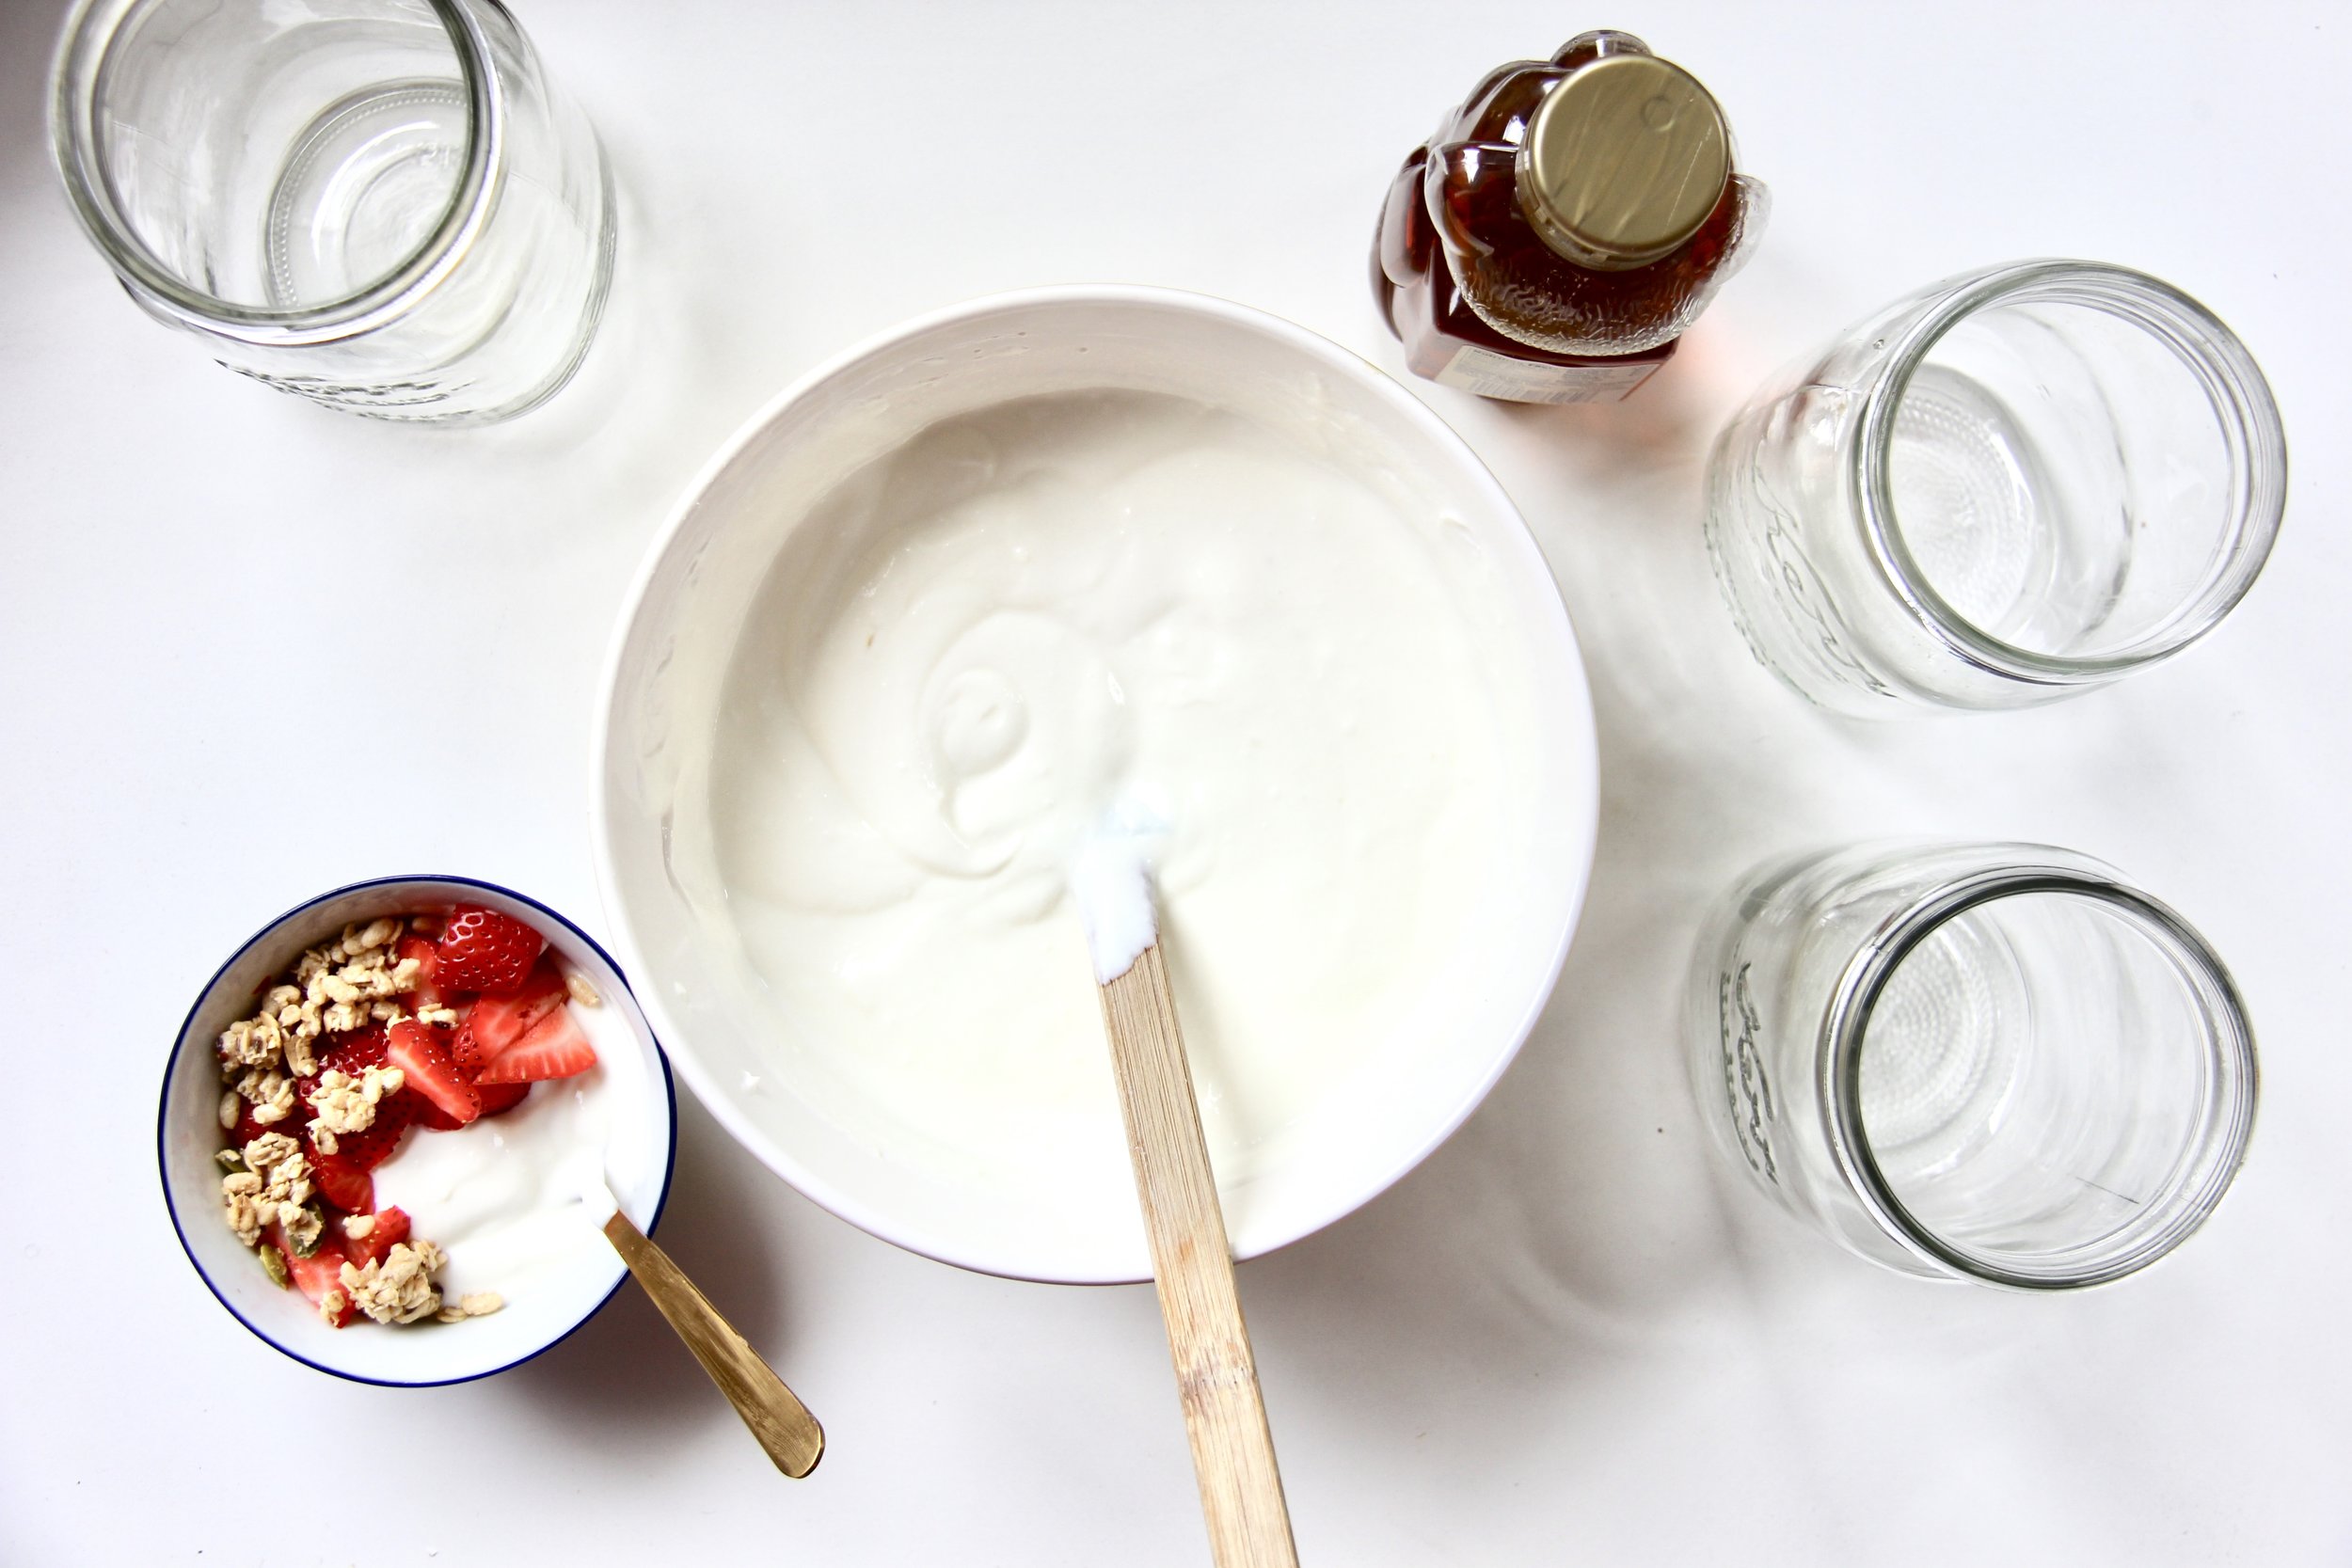
6. Any sweeteners you'd like to add. My favorite is just local raw honey... it's divine.
**I'd also like to add that I bought a separate sealing ring for the lid of my Instant Pot just because my other one smells like many of the past dishes I've cooked in my pot, and I didn't want my yogurt smelling/tasting like that. So I just ordered a separate one that I can use for my yogurt batches (find it here for only $7.95).
That's all you need! Now let's get to work.
Instructions:
1. Dump your gallon of milk into your Instant Pot. Press the "Yogurt" button and then "adjust" button until it says "boil." It will take about 45 minutes or so until it beeps and until it's done.
2. Once it beeps, take your digital thermometer and double check the temperature of your milk. It should be right around 180 degrees Fahrenheit (mine stopped at 179.4). Make sure it gets to be 180-185 degrees F or your yogurt will end up too thin. It's important! If you need to hit "saute" or "boil" and whisk until it reaches this temperature, do it. Once it reaches the appropriate temperature take out the inner pot and place on a cool surface until the temperature of milk reaches 95-110 degrees. This is the most important step so you don't lose any of the probiotics! Make sure it gets to 110 degrees or a little less! You can whisk in the process, but I've found that the fastest way of cooling it down is to fill up my sink with ice and water and then sticking my inner pot right in there surrounded by the cold water. It helps to speed up the process since this step could potentially take a lot of time.
3. Add your starter and vanilla. I added 1 cup of Siggi's Plain Greek Yogurt and also whisked in 1 Tbsp. vanilla extract.
4. Place your inner pot back into your Instant Pot and set on "Yogurt" (It reads "yogt") to incubate for 8-9 hours. If you like your yogurt tangier, you can do a few hours longer (and actually the longer it incubates, the more helpful bacteria is produced). But I would recommend 8-9 hours for the not-so-tangy taste.
5. After the 8-9 hours is up, take out your nut milk bag and hang from a nob on your upper kitchen cabinets. Place a bowl underneath for draining. Pour yogurt into your nut milk bag and let drain for 1-2 hours depending on how thick you want it. I left mine for 2 hours and loved the thickness! You should see a yellowish, clear liquid collecting in your bowl while the thicker yogurt stays in the bag. The clear liquid is the whey and that is what differentiates Greek yogurt from regular yogurt.
*Keep the whey and store it in your refrigerator! You can use it as a substitute for buttermilk in baking recipes, or as the cooking liquid for bread, biscuits, pasta, potatoes, quinoa, etc. Or, add it to your smoothies for more probiotics, etc.!
6. Once drained, pour the thick yogurt into containers and add any other sweeteners you'd like. I usually add honey to some and leave other plain. You could also add more vanilla or fruit, etc. For the added honey, I like adding 1 Tbsp. per cup to sweeten.
There you have it! Yummiest yogurt around! Enjoy every bite!
A few tips:
Store in an airtight container in fridge- it should last up to two weeks!
Remember if you plan on making it again soon, save 1 cup to use as your yogurt starter for next time. I'm just stoked I can now make double/triple the quantity of yogurt with ONE ingredient next time (milk!), at a fraction of the cost! Woot woot! No more buying store-bought yogurt for me.
This recipe will yield ~8 cups (or more). I didn't get an exact measurement because I was too busy scarfing it down before I had a chance to measure. But I'll measure with my second batch and change that here in about a week, plus add the nutrition facts. :) But, it has roughly half the sugar and double the protein of the Greek yogurt I usually buy from the store. Pretty amazing!
Let me know how it goes and good luck!
